Setting up the transactions import terms consists in specifying the total floor of the amounts, i.e. the limit from which transactions with the same budget code, transaction date and currency are imported individually and not associated in a global transaction.
You can define general terms at the level of the file structure. You can also create specific terms for the same structure and for a specific company and/or budget code.
In the Modules Tasks pane, select the Budget Import Terms option in the Setup folder of the Liquidity module.
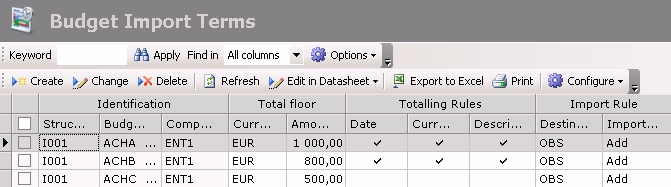
The setup page for import terms is displayed with the list of the set up terms in a table. The table shows elements such as the structure code, the target budget sheet and the import mode (add or replace).
The table also displays the specified import terms: the budget code, the company code, the amount and currency of the total floor, as well as the date, currency and description of the totaling rule.
For more information on:
- Reorganization of the lines display in the table, click here
- how to search text in the table, click here
- how to create lines, see the topic below,
- modifying lines in the table, click here
- deleting lines in the table, click here
- In the setup page for import terms, click the Create button.
The setup page for import terms opens up.
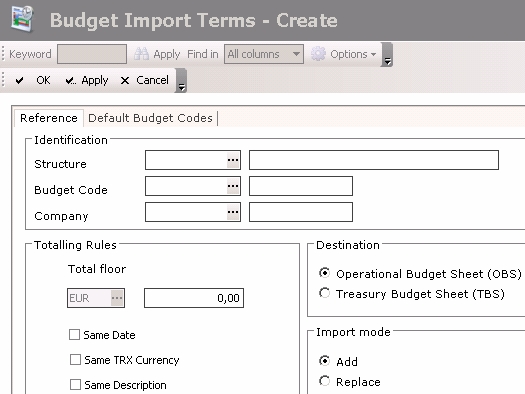
- Enter the structure's basic information.
- Click the Default Budget Codes tab.
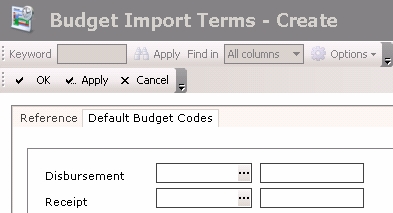
This page enables you to set up two default budget codes for receipts and disbursements.
The Disbursement field displays the budget code assigned by default to the transactions for which the amount is negative and the Receipt fields displays the budget code and assigned by default to the transactions with a positive amount.
- To assign a budget code to the receipts and disbursements, click the button
 to display the list of budget codes. In the contextual window, double-click a code to select it.
The code and description of the selected budget code are displayed in the Budget code field.
The Apply button enables you to save your modifications without quitting the current step.
Once you completed the setup of the import terms, click the OK button to validate your entry or Cancel to cancel it.
The setup page for import terms is displayed with the new terms at the bottom of the table.